

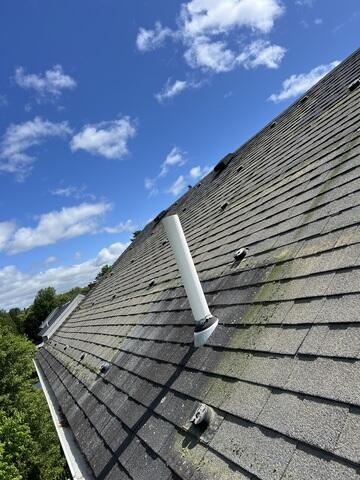
Before Roof Replacement
This photo shows the condition of the roof before the replacement. You can see the wear and tear on the shingles, especially in the areas where solar panels were previously installed.
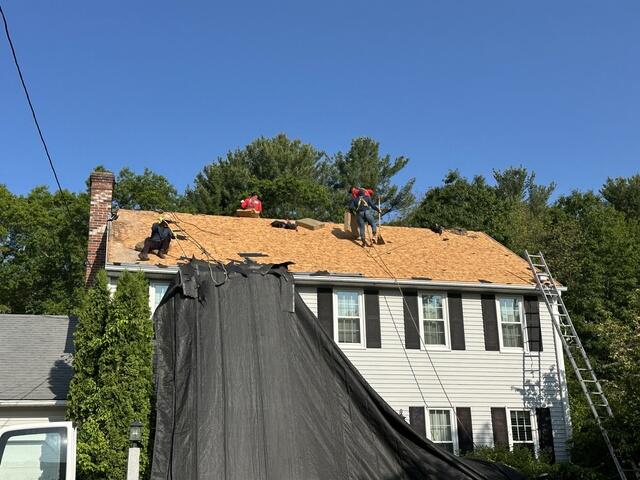
Removing The Old Shingles
The first step in the roofing process is stripping off all the old shingles to expose the decking underneath. From there, the crew checks for any damaged or rotted boards and replaces them with new ones, creating a solid foundation for the new roof.
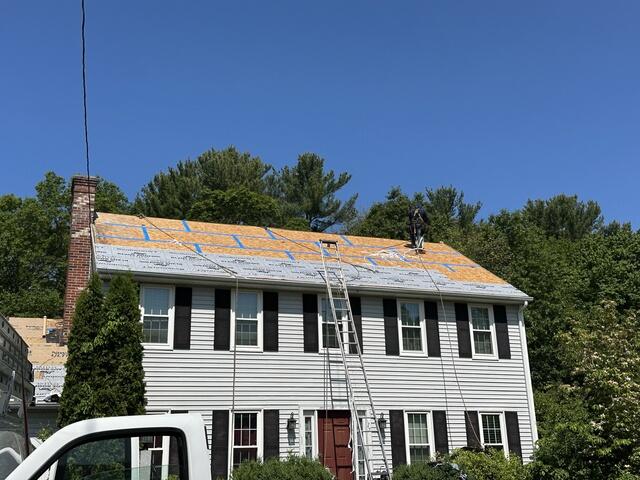
The Ice&Water and Deck Tape Seals
Once the new plywood is in place, the crew moves on to installing the waterproofing materials, an essential step for long-term protection. SealoronXT Ice & Water is applied first, covering all roof edges where leaks are most likely to occur. Then, SealoronXT Deck Tape is installed over every plywood seam to seal any gaps and prevent water from finding its way in.
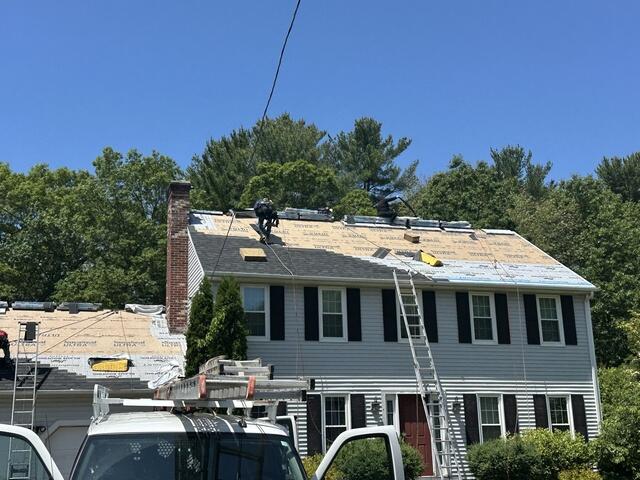
Installing The IKO Dynasty Shingles
The VeloraONE Roof Underlayment is then installed over the rest of the roof deck, creating a secondary barrier that helps water slide off if it ever gets beneath a shingle, keeping the plywood dry and protected. With the waterproofing complete, the crew installs IKO Dynasty shingles in the color Granite Black, giving the home a bold, finished look with long-lasting durability.
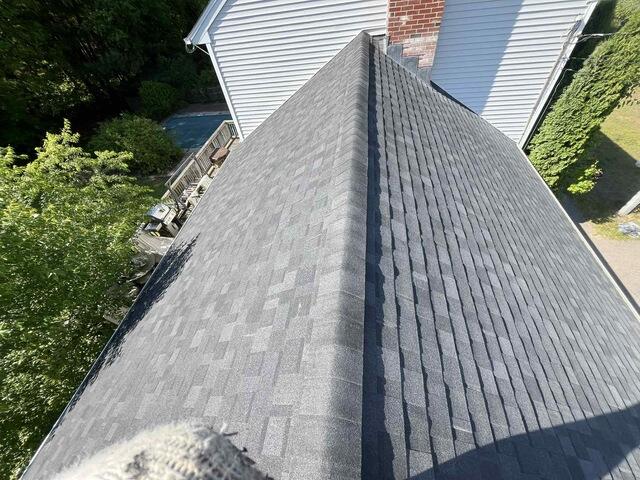
Final IKO Dynasty Shingles
This final photo highlights the completed roof, now protected with IKO Dynasty shingles in Granite Black. The bold, clean lines of the new shingle design bring a fresh, modern look to the home while offering long-lasting durability. With the full Klaus Larsen Roofing system installed underneath, including SealoronXT Ice & Water, SealoronXT Deck Tape, and VeloraONE Roof Underlayment, this roof is built to withstand the elements and keep the home protected for years to come.